


The Happy Camper: Four Amazing Camp Recipes from Cobi Sharpe

Cobi Sharpe of Waboose Adventures was kind enough to share a bunch of fantastic camp recipes for my latest book Complete Guide to Winter Camping. Sadly, she got cut by the editor. Actually, the entire recipe section got cut (I’m hoping for an extension on the second printing). These recipes are too good not to share with everyone, however. Thanks Cobi. You’re awesome.
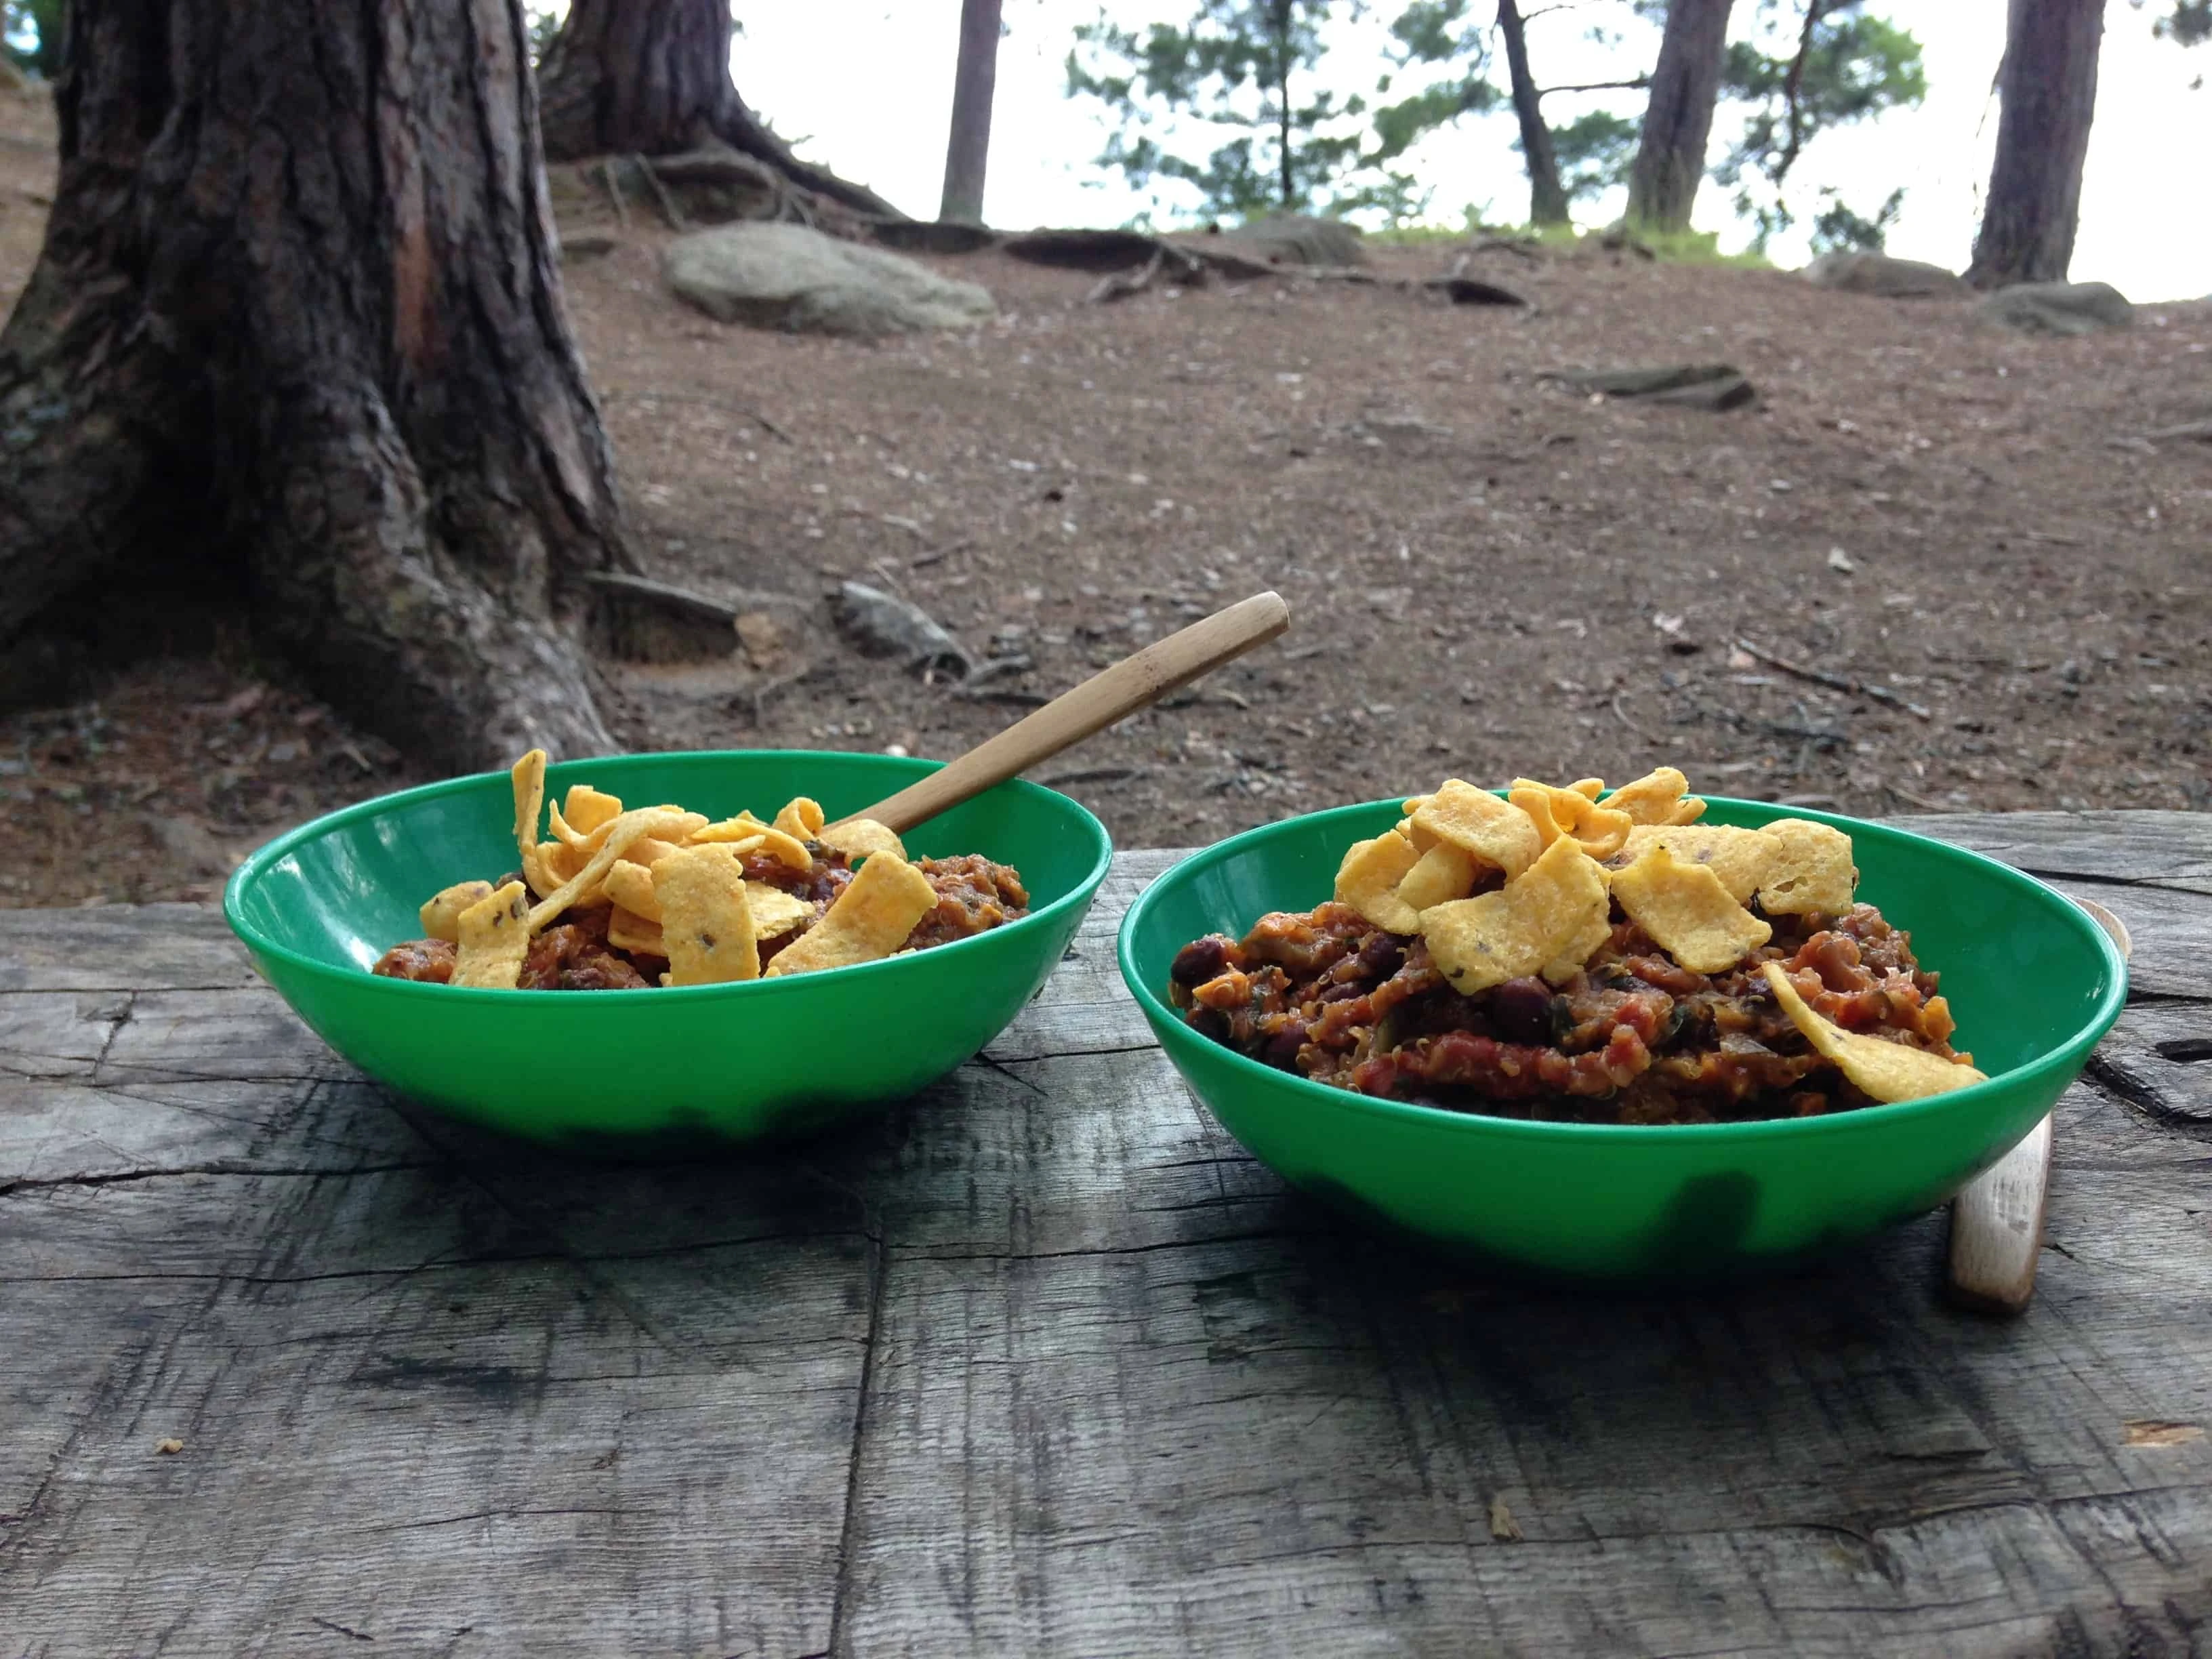
Cobi Sharpe’s Chili
Serves eight (using three ladles per person).
Ingredients:
- 3 tbsp water
- Large onion, chopped
- 3 cloves garlic, minced
- Bell pepper, diced (2 small, or 1 large)
- Zucchini, diced
- Sweet potato (medium), diced
- Black beans, rinsed (19 oz can)
- Quinoa (1 cup)
- Canned diced tomatoes (2 x 28 oz. cans)
- Salsa (1 jar)
- Pickled jalapeños (5 or 6 slices), chopped
- Unsweetened dark chocolate (.25 ounce, or one piece of unsweetened baker’s chocolate)
- 2 tbsp chili powder (or more to taste)
- 4 tsp cumin
- 2 tsp paprika
- 1/2 tsp cayenne
- Sea salt and black pepper to taste
- Juice of 1 lime
- Bunch of cilantro, chopped
- Fritos (corn chips), optional
Directions
Rinse one cup of quinoa well and add it and to two cups of water in a pot. Bring to a boil (I usually crumble a vegetable stock cube to add more flavour). After boiling, add lid, put on low heat and simmer for about 15 minutes. Remove from heat and let stand for five to 10 minutes. Fluff with a fork.
While quinoa is cooking, add about three tbsp of water to a large pot. (You are using water instead of oil for dehydrating purposes—this is optional.) Add chopped onion and garlic. Cook/sauté on medium heat. Add chopped pepper, zucchini, jalapeños and sweet potato. Cook until almost tender.
Add chili powder, cumin, paprika, cayenne, salt and pepper and cook for about a minute until mixture starts to stick to bottom.
Add canned tomatoes, salsa, black beans and quinoa. Cook on medium heat. Once all the mixture is hot, add dark chocolate square. Taste and add salt if needed. Simmer for 20 minutes. Add lime juice. Once completely cooled, and ready for the dehydrator, add chopped cilantro.
In the Dehydrator (Optional)
Spread a thin layer of chili mixture on a paraflexx sheet in your dehydrator. Set the temperature to about 135° degrees Fahrenheit. Could take up to 12 hours. You might need to turn the mixture halfway through. Once it’s all dried and crumbly, it’s ready.
At Camp
Add enough water so that it’s just covering the mixture. Bring to a boil and keep adding water when necessary until it doesn’t taste too concentrated and has the right consistency. (We add boiling water from our Kelly Kettle and then put the pot on the Kelly Kettle Hobo Stove to finish cooking.) Top with Fritos (corn chips).
Cobi Sharpe’s Dehydrated Mexican Lentil Stew
This one is my favourite meal to eat in the backcountry! Packed with protein and super lightweight (if you dehydrate it). Serves six (using three ladles per person).
Ingredients:
- 1 tbsp of olive oil
- Large onion, chopped
- 2 large garlic cloves, minced
- 4 celery stocks, diced
- 2 cups dried red lentils, rinsed
- 28 oz. canned tomatoes (diced, whole and/or fire-roasted)
- 1/2 tbsp chili powder
- 1 tsp cumin
- 1/2 tsp turmeric
- 4 cups vegetable broth
- Up to 10 dashes of hot sauce
- 1 medium lime
- Chopped cilantro
Directions
Saute onions in olive oil until translucent. Add garlic and cook for a minute or two, then add celery. Cook about five minutes until celery starts to soften. Add spices, cook for another minute. Then add canned tomatoes and stock. Rinse red lentils really well (until the water runs clear) and add those to the pot. Bring to a boil. Turn to low-medium and simmer for about 15 minutes. Add lime juice and cool. Once the stew has cooled, add chopped cilantro (this will help keep it fresher during the dehydrating process).
In the Dehydrator
Spread a thin layer on a paraflexx sheet in your dehydrator. Set the temperature to about 135° degrees Fahrenheit. Could take up to 12 hours. Once it’s all dried and crumbly it’s done.
At Camp
Add water so that it’s just covering the mixture. Bring to a boil and keep adding water when necessary until it doesn’t taste too concentrated and has the right consistency. It shouldn’t take very long at all. If you want, you can top it with corn chips, or cornbread.
Cobi Sharpe’s Coconut, Lime, Macadamia Energy Bites
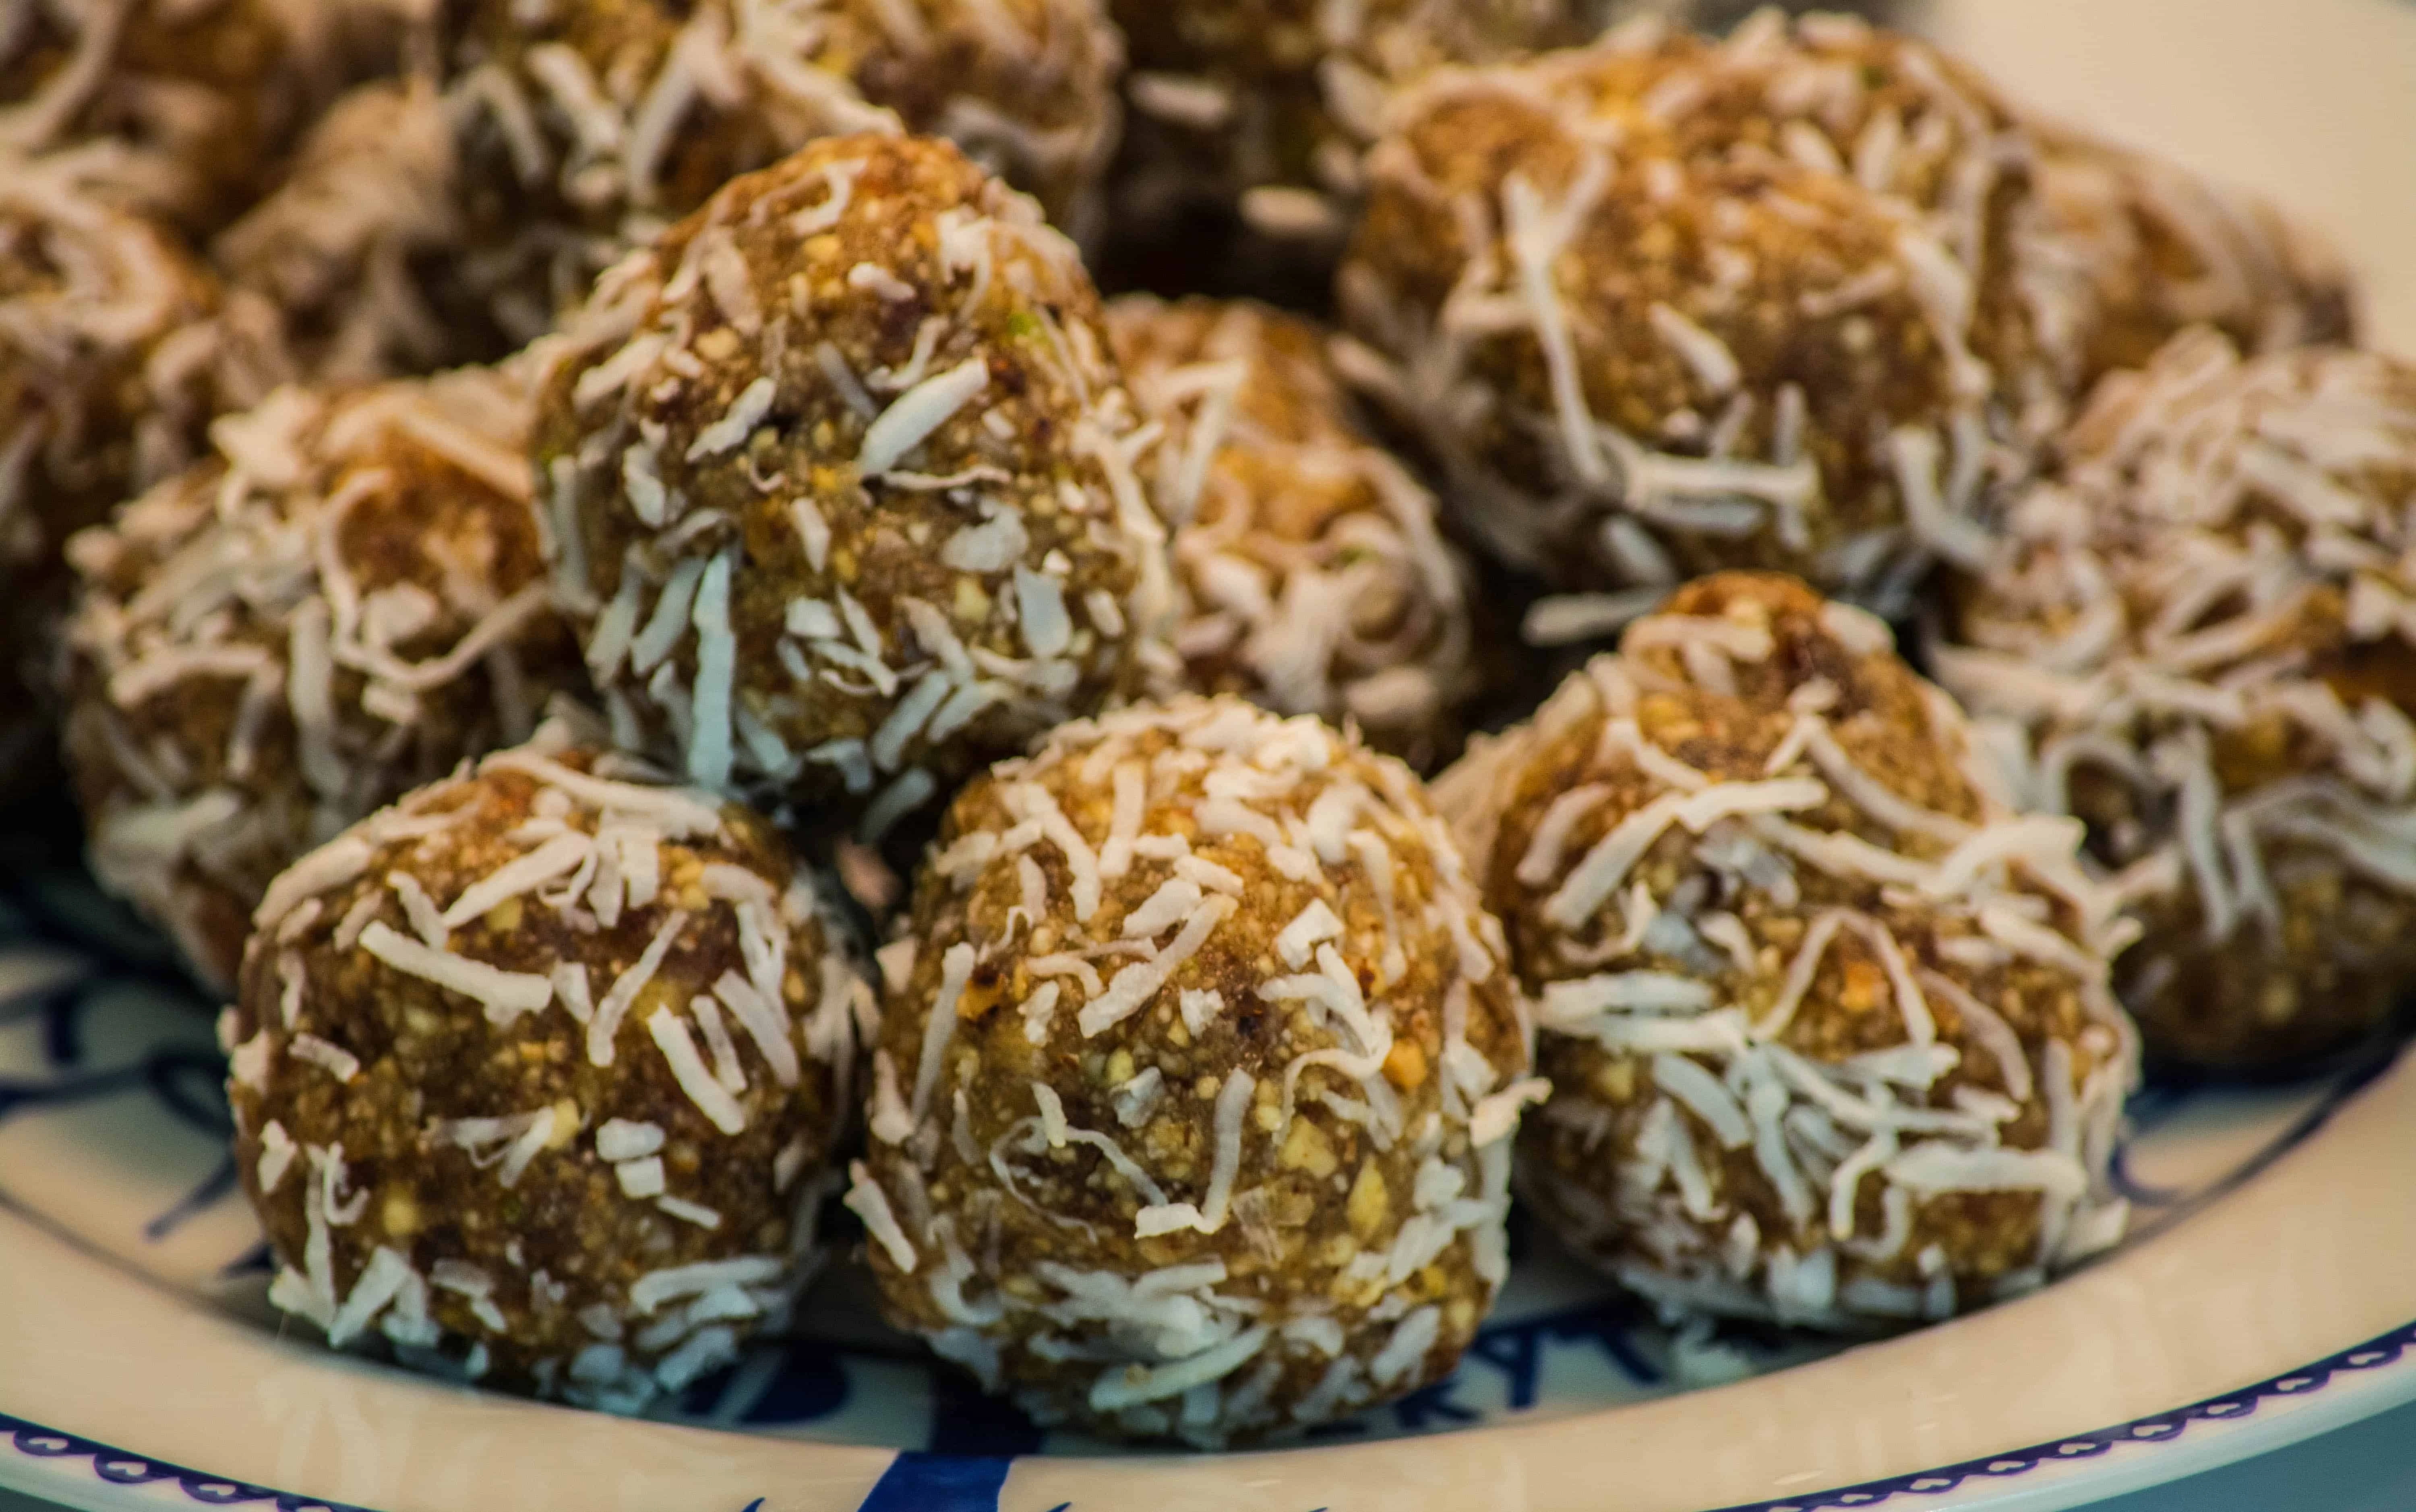
My gosh these are good. I love limes! So, no doubt these energy bites are right up my alley. There’s enough lime juice and zest to really kick these up a notch. You’ll be taken away to some tropical island with a cold cerveza in your hand rather than the reality of slogging through a portage or hiking all day on the trail.
Ingredients:
- 1 cup almonds, unsalted
- 1/2 cup cashews, unsalted
- 1/2 cup unsalted macadamia nuts
- 11 medjool dates, pitted
- 1 tsp good quality vanilla
- Juice of 1 lime (or more depending on your love of lime flavour)
- 1 tsp lime zest
- A good pinch or two of sea salt
- Shredded coconut
Directions
Add almonds, cashews and macadamia nuts into a food processor and blend until you get a crumbly mixture. Add dates, vanilla, lime juice, lime zest and salt. Pulse until all blended together. The mixture should be sticky enough that you can form balls that are bite-sized and roll them in shredded coconut. Chill for 30 minutes or put in the freezer until you’re ready to eat them.
Cobi Sharpe’s Homemade “Lara Bars”
My friend Andrew brought along some real tasty homemade “Lara Bars” on our trip to Killarney. I had to have the recipe, and I certainly hope he doesn’t mind if I share. Packed full of protein, it’s the perfect snack before attempting a rigorous portage. The nutrition value is comparable with other protein bars, and if they weren’t so high in fat (needed for a physically demanding canoe trip or hike), I’d eat them all of the time!
Ingredients:
- 1 cup cashews
- 1 cup almonds
- 1 cup dates – approximately (If you use dates that still have the pit in them, they will be much sticker than those without which tend to dry out. You need the sticky factor for these bars to stay together)
- 1/2 cup semisweet chocolate chips (or more, depends on you)
Directions
In a food processor, blend almonds until crumbly. Add cashews and blend until the whole mixture is crumbly. Add dates. I usually cut them up a little (especially if you have to take the pits out). Blend. And finally, add the chocolate chips. Dump the mixture onto a cutting board and mold into shape. I usually use my fist to pound it down and together. Cut into 12 pieces and refrigerate to help bars hold their shape. The other wonderful thing about these bars is that they are gluten-free! The recipe makes about 18 bites.
PS. Want more great camp food?
Join over 3,000 subscribers across North America when you sign up for explore magazine’s “Live the Adventure” Club.
Our gear boxes come packed with amazing outdoor adventure gear – including delicious hiking and camping snacks.
Click here to learn more.
Related Content:
The Happy Camper: Dutch Oven Stout Stew (Camp Recipe)
The Happy Camper: Two Delicious Campsite Recipes
The Happy Camper: Becky Mason’s Trapper’s Bread


