


How to Repair Your Outdoor Adventure Gear


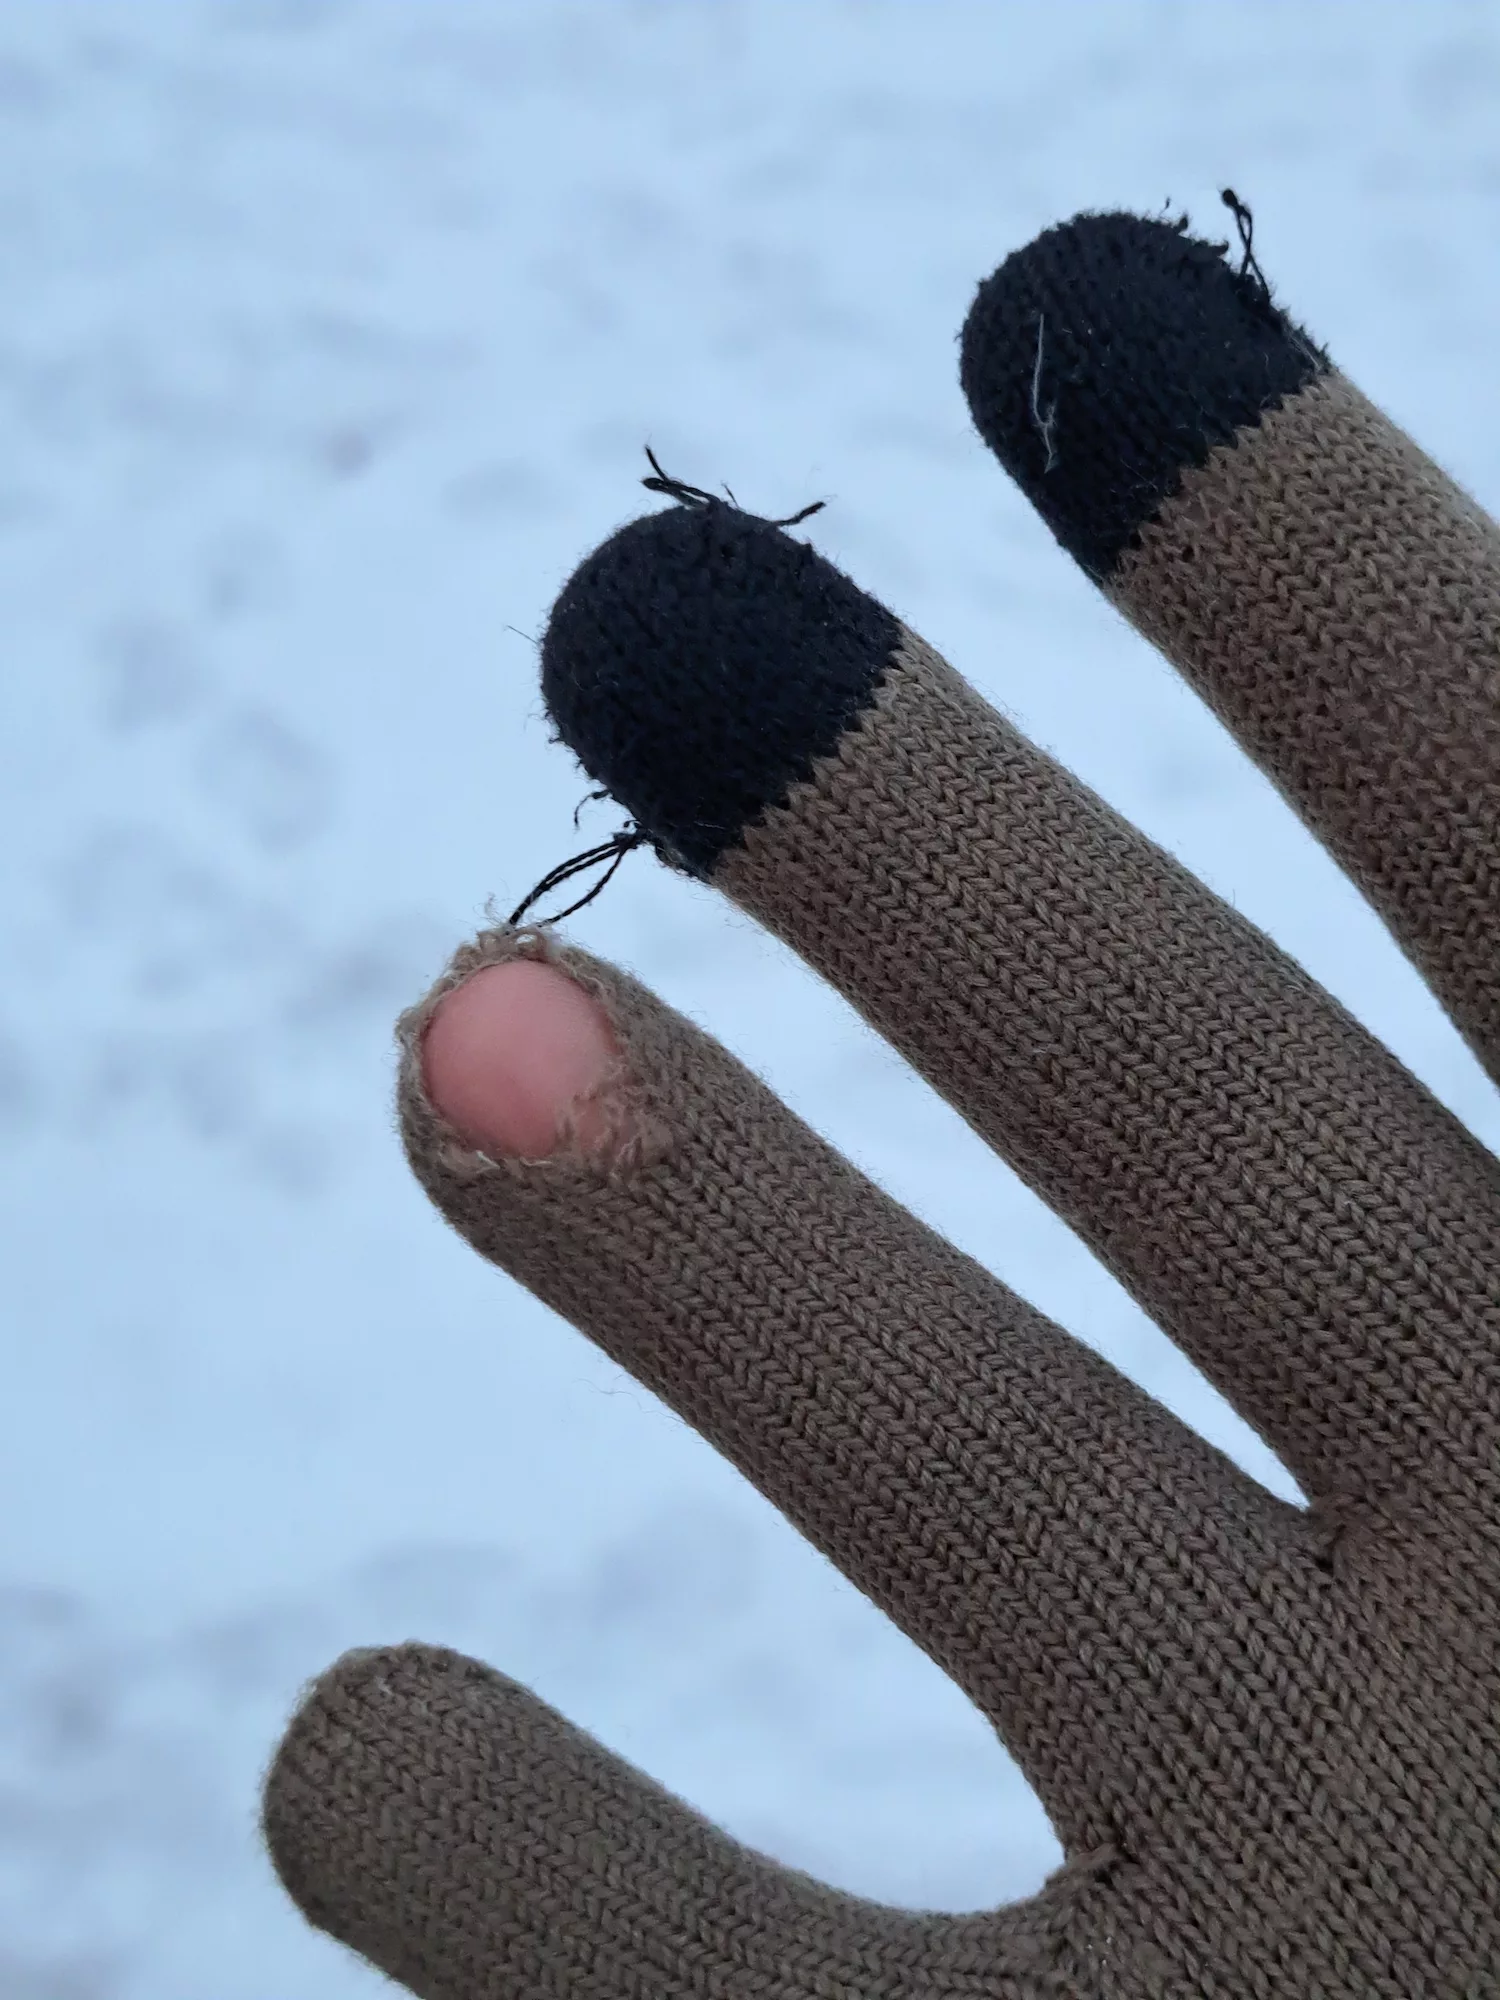
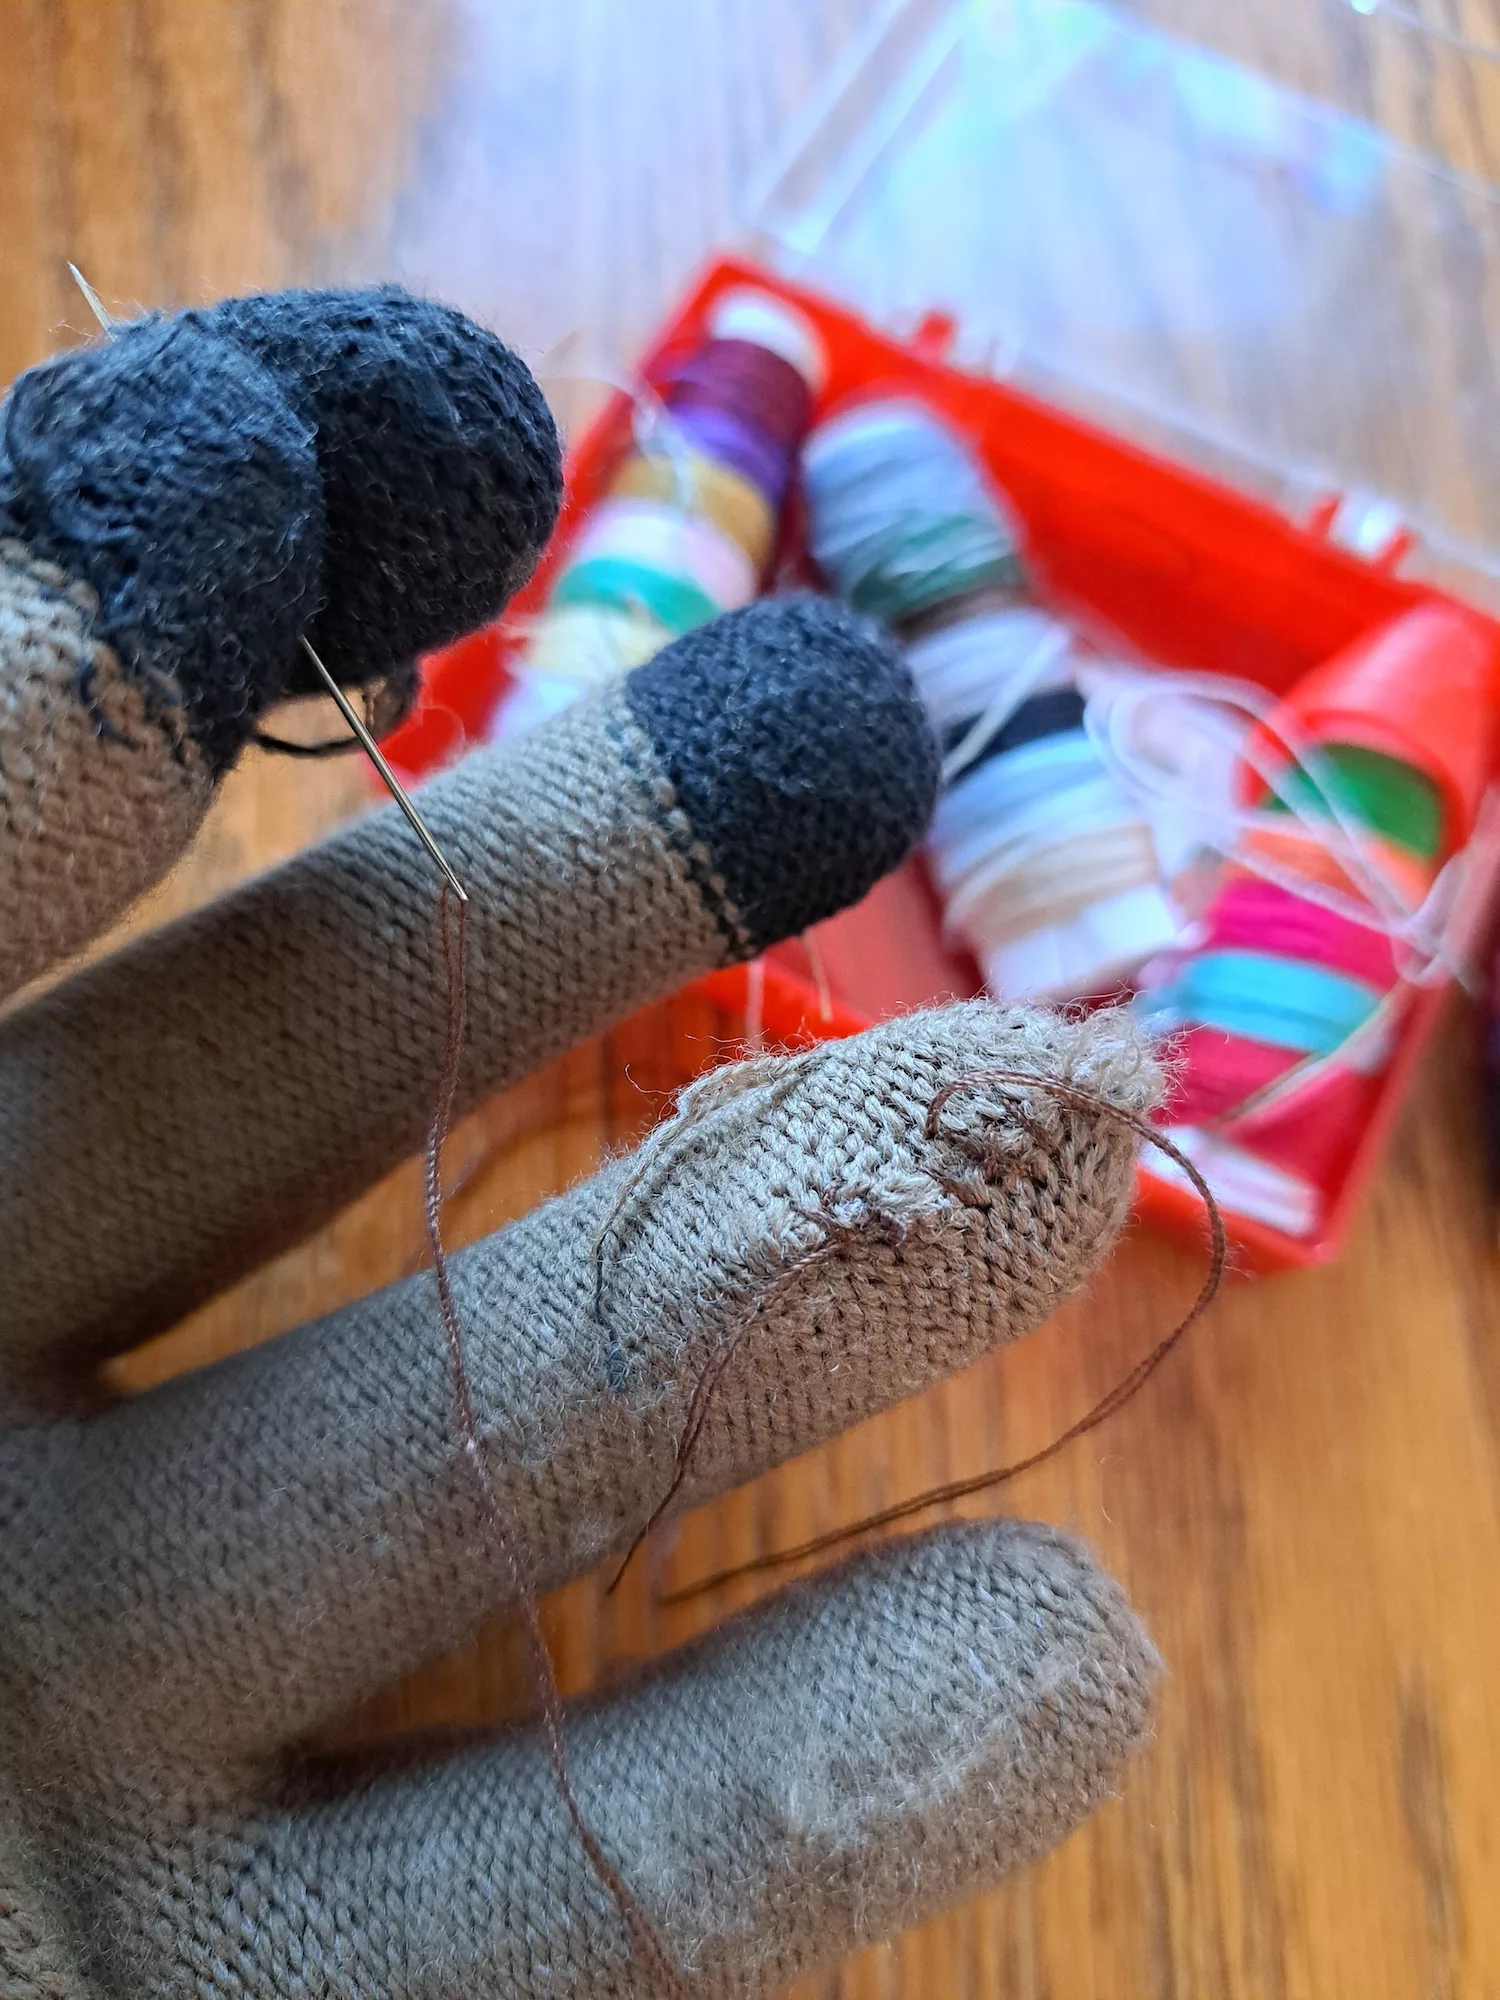
As I slid my son back in his carrier, a thumb popped through my favourite merino-liner gloves. It wasn’t the first hole I’d had to stitch up. I wear these on every cold weather adventure, so it wasn’t surprising they were wearing thin in certain places.
 Sylvia Dekker
“Worn out gear means worn gear—and that’s a good sign,” I thought as we headed down from the summit. It means the gear is getting outside, where it belongs. Regardless of quality, gear will wear and tear with enough use. Snags, falls, wind and the resulting gear injuries are all realities of life outdoors.
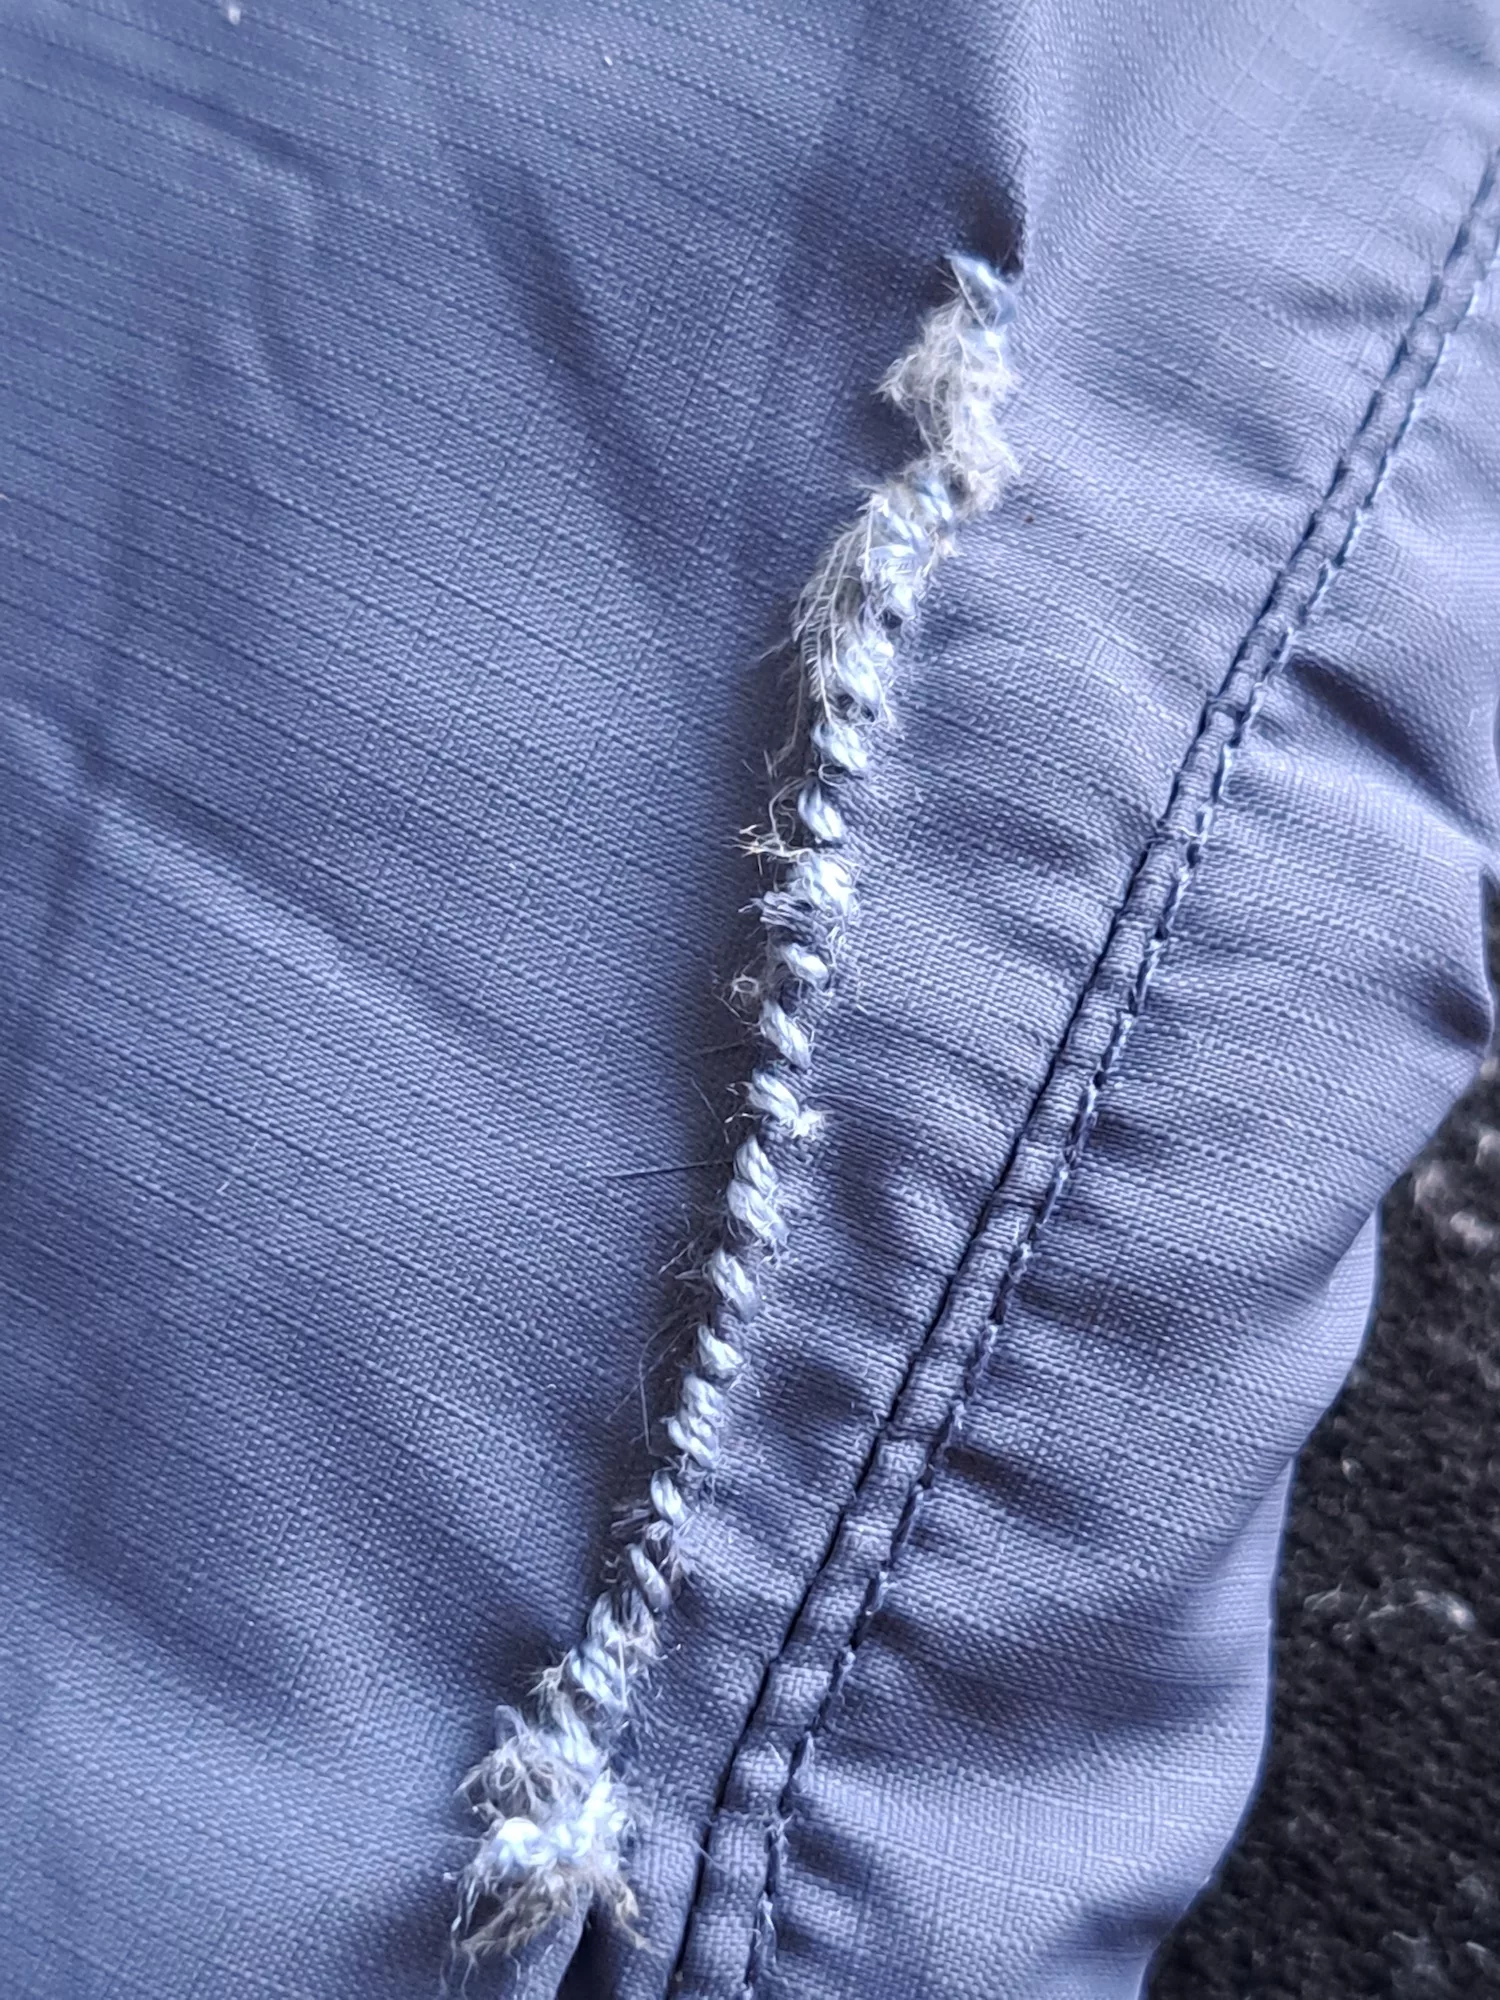
The word ‘sore’ describes a punctured sleeping pad, ‘soggy’ a rainfly with holes and ‘uncomfortable’ a busted buckle—but holes and tears don’t mean the end of the trail for your favourite piece of gear.
 Sylvia Dekker
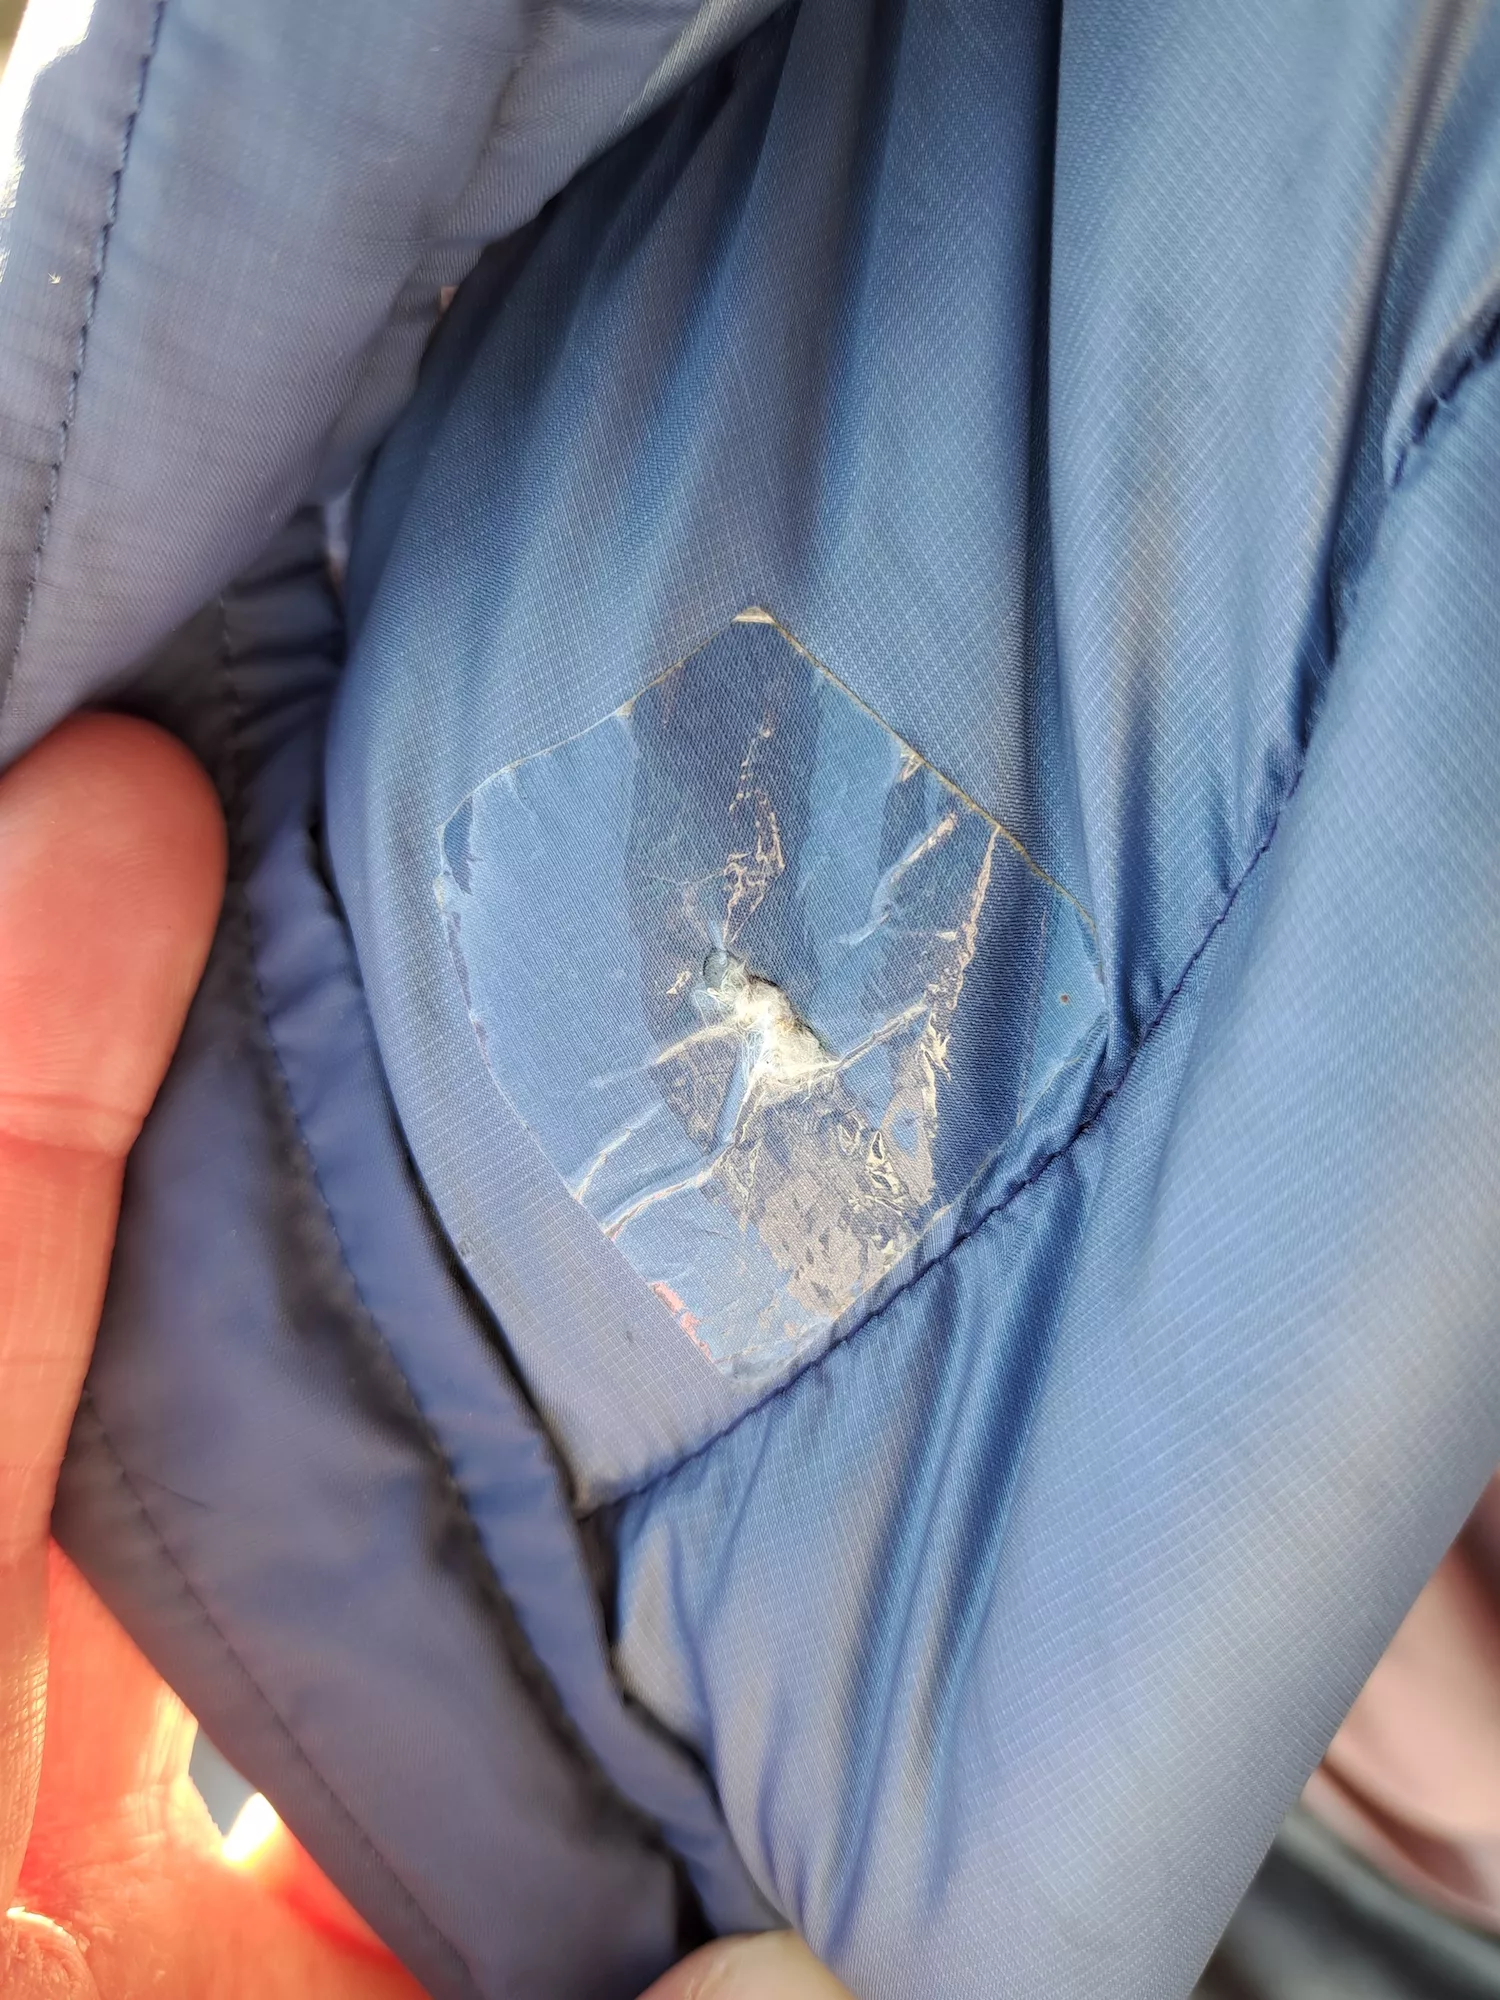
When the down oozed out and floated out of my beloved Arc’teryx puffy after a cringe-worthy ripping sound, I could have decided it was done for. Instead, a piece of packing tape came to the rescue until I had time to bust out my tiny sewing kit and mend the holes both in the jacket as well as the gloves that had their home in its pockets.
Knowing how to do simple repairs to extend the use of expensive gear is an essential, yet easily overlooked skill for outdoor explorers. Let’s keep our favourite pieces out of the landfill for as long as possible.
Common Damage
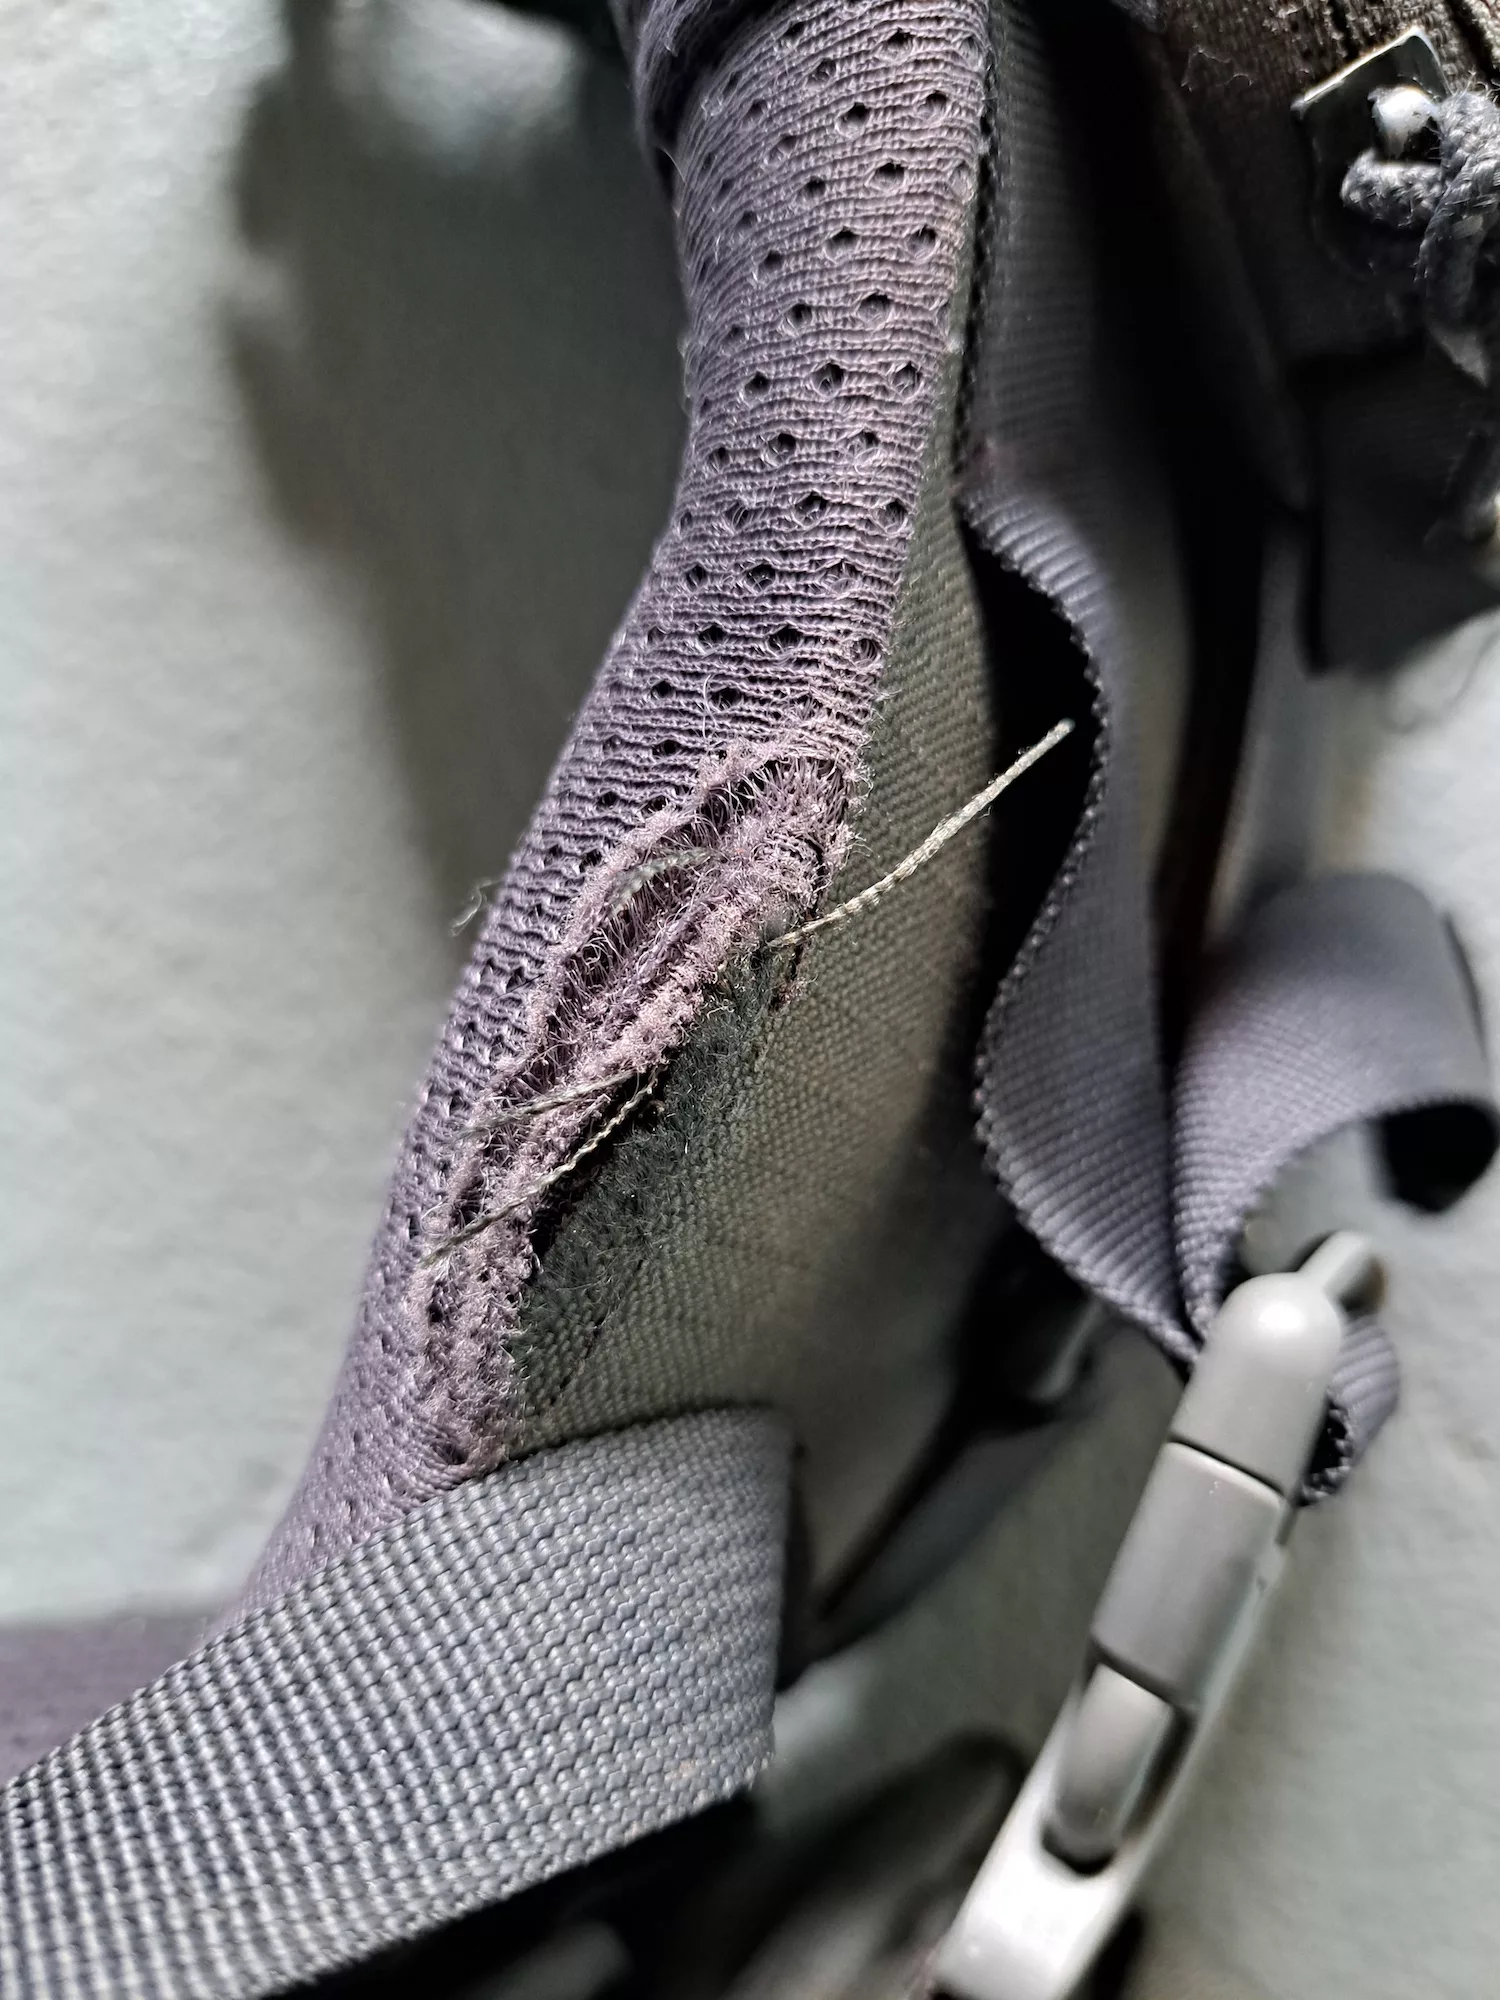
Gloves and jackets find their downfall through wear and tears from getting snagged on rocks and branches. Backpack buckles break, zippers split and the bag can rip on sharp objects—although most are made with tough fabrics, making this a rare occurrence.
 Sylvia Dekker
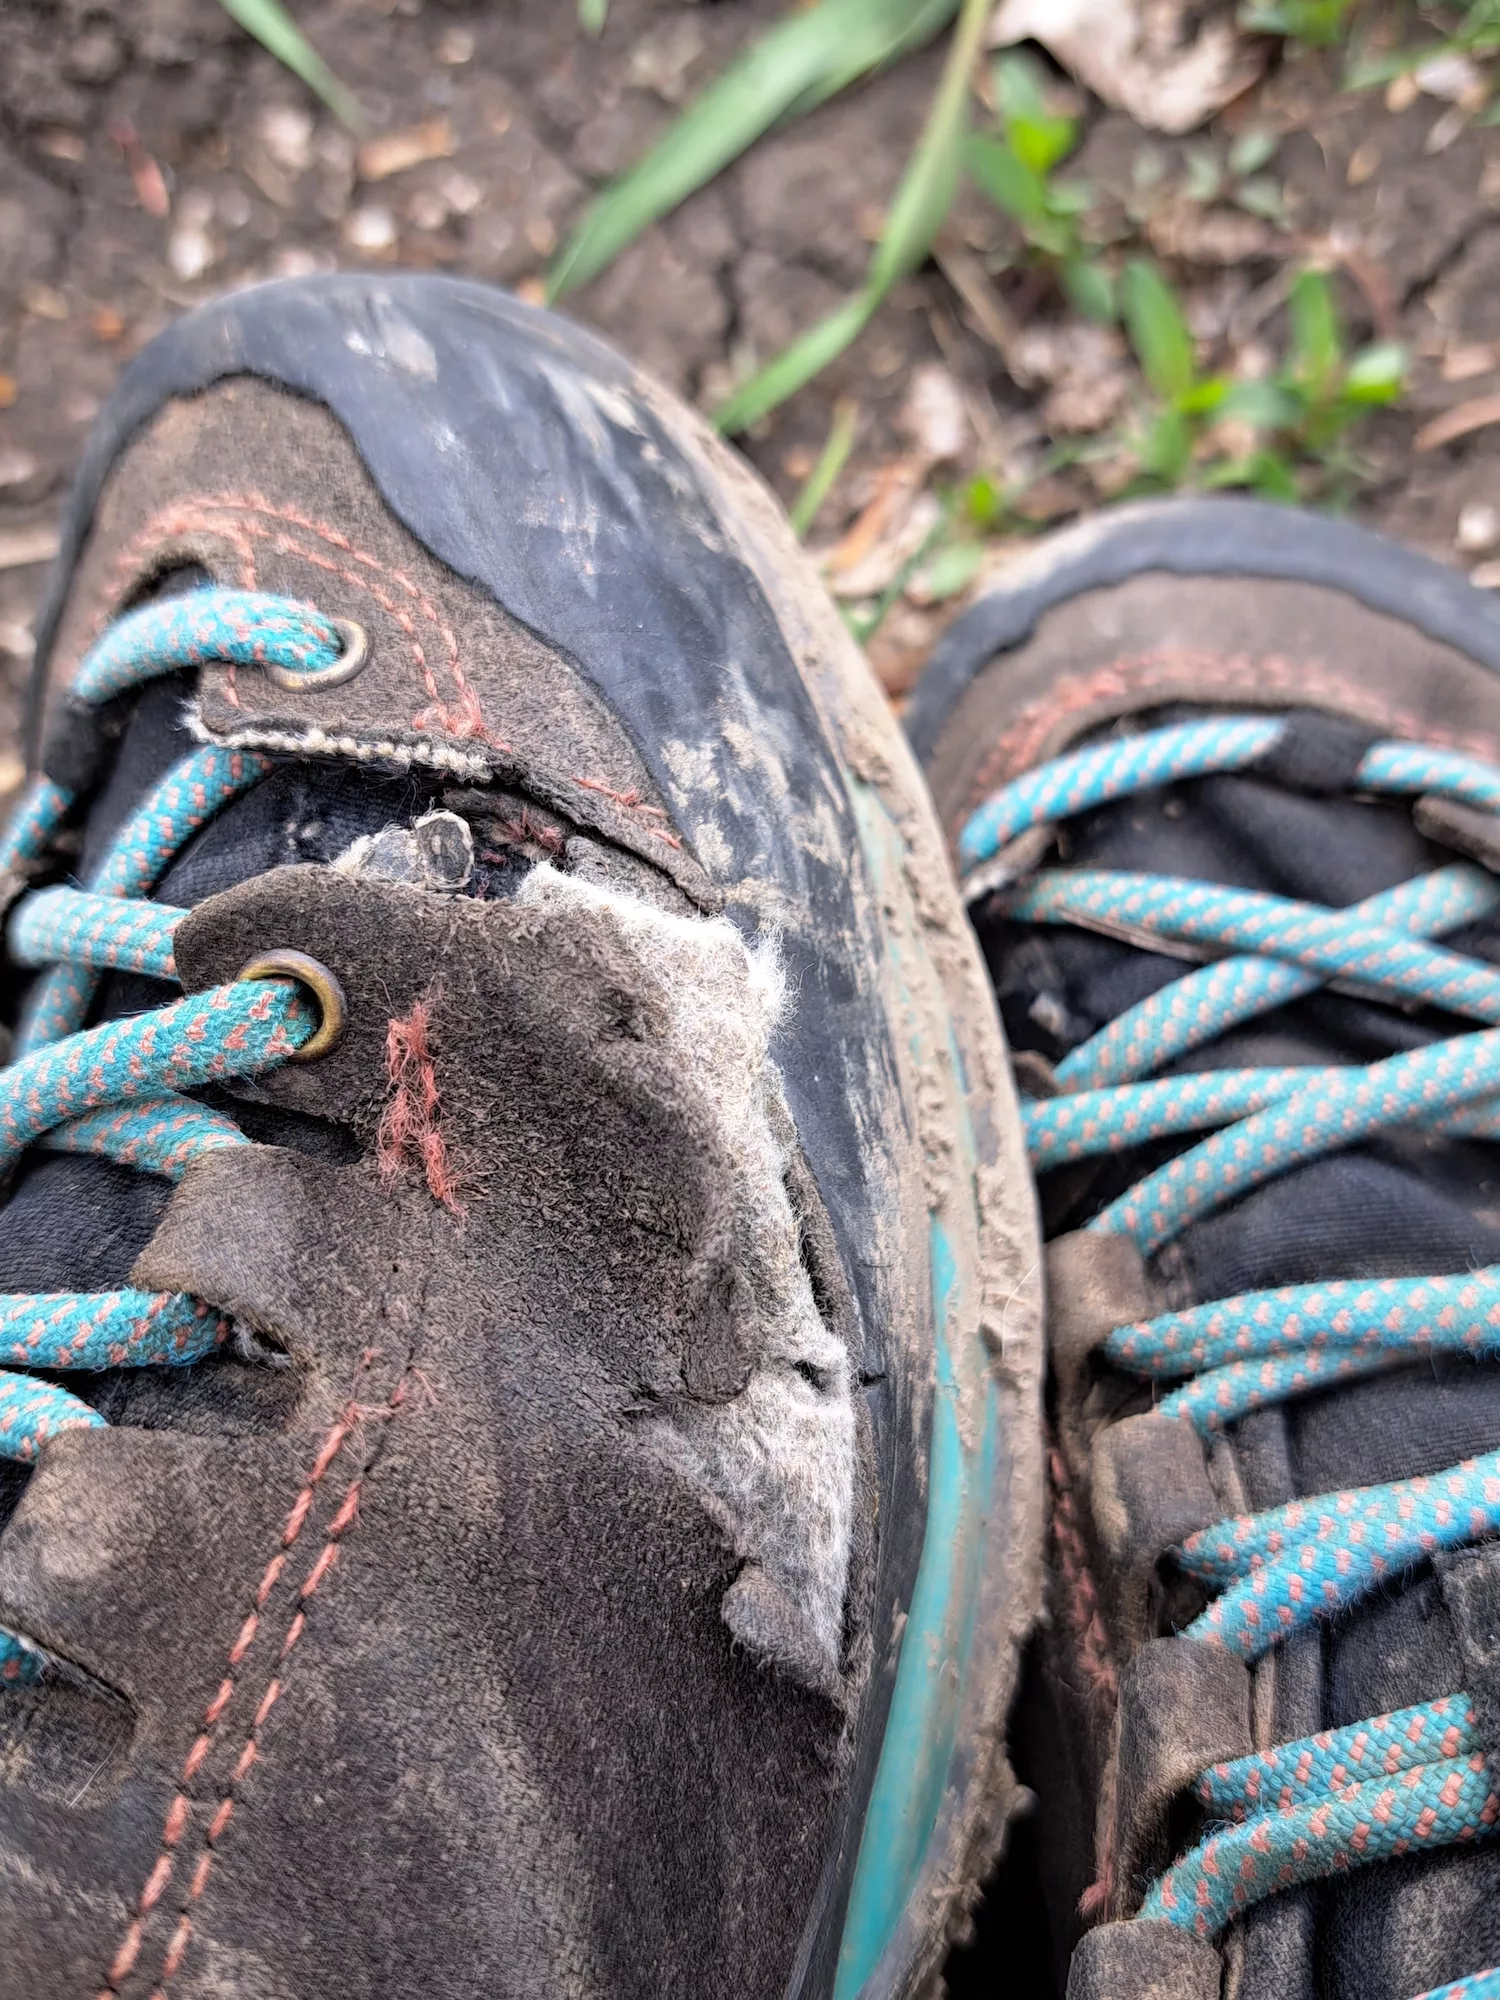
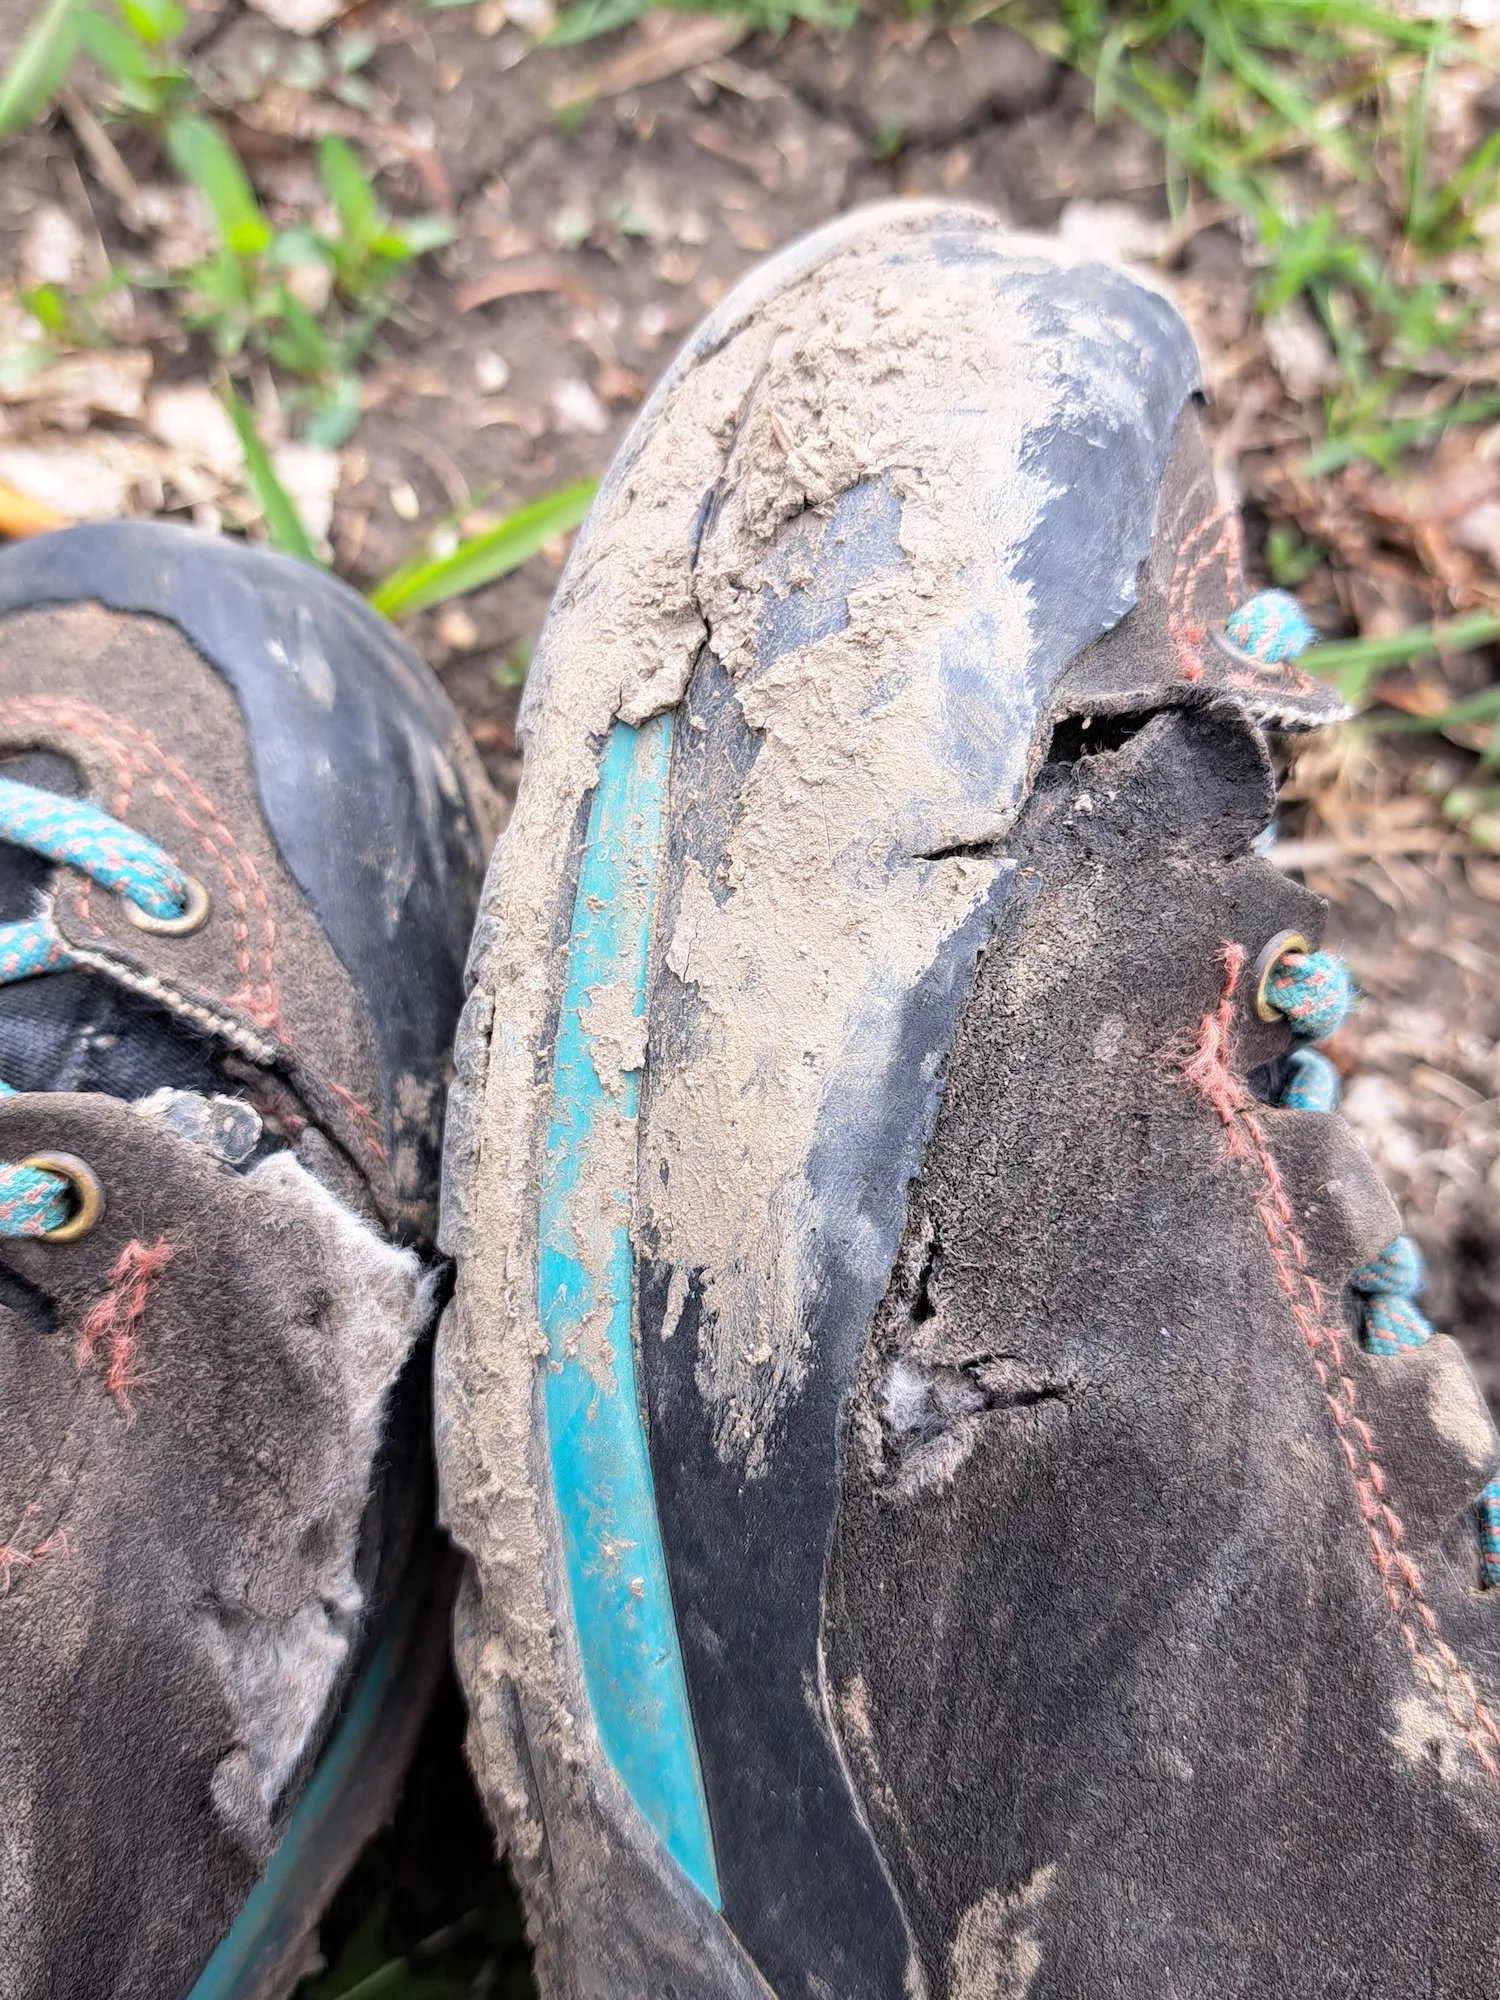
Boots take the brunt of damage from outdoor excursions. After years of use, mine now allow dirt and water to flow in freely (they’ve seen better days).
Tent poles can break under the weight of snow, bend too far in a windstorm and the rain fly can rip. The mesh is especially vulnerable to snares.
Canoes and kayaks come in a variety of materials, each with their own benefits and detriments. Lighter vessels mean easier portages, but that also means a possibility of punctures thanks to hidden rocks and logs.
 Sylvia Dekker
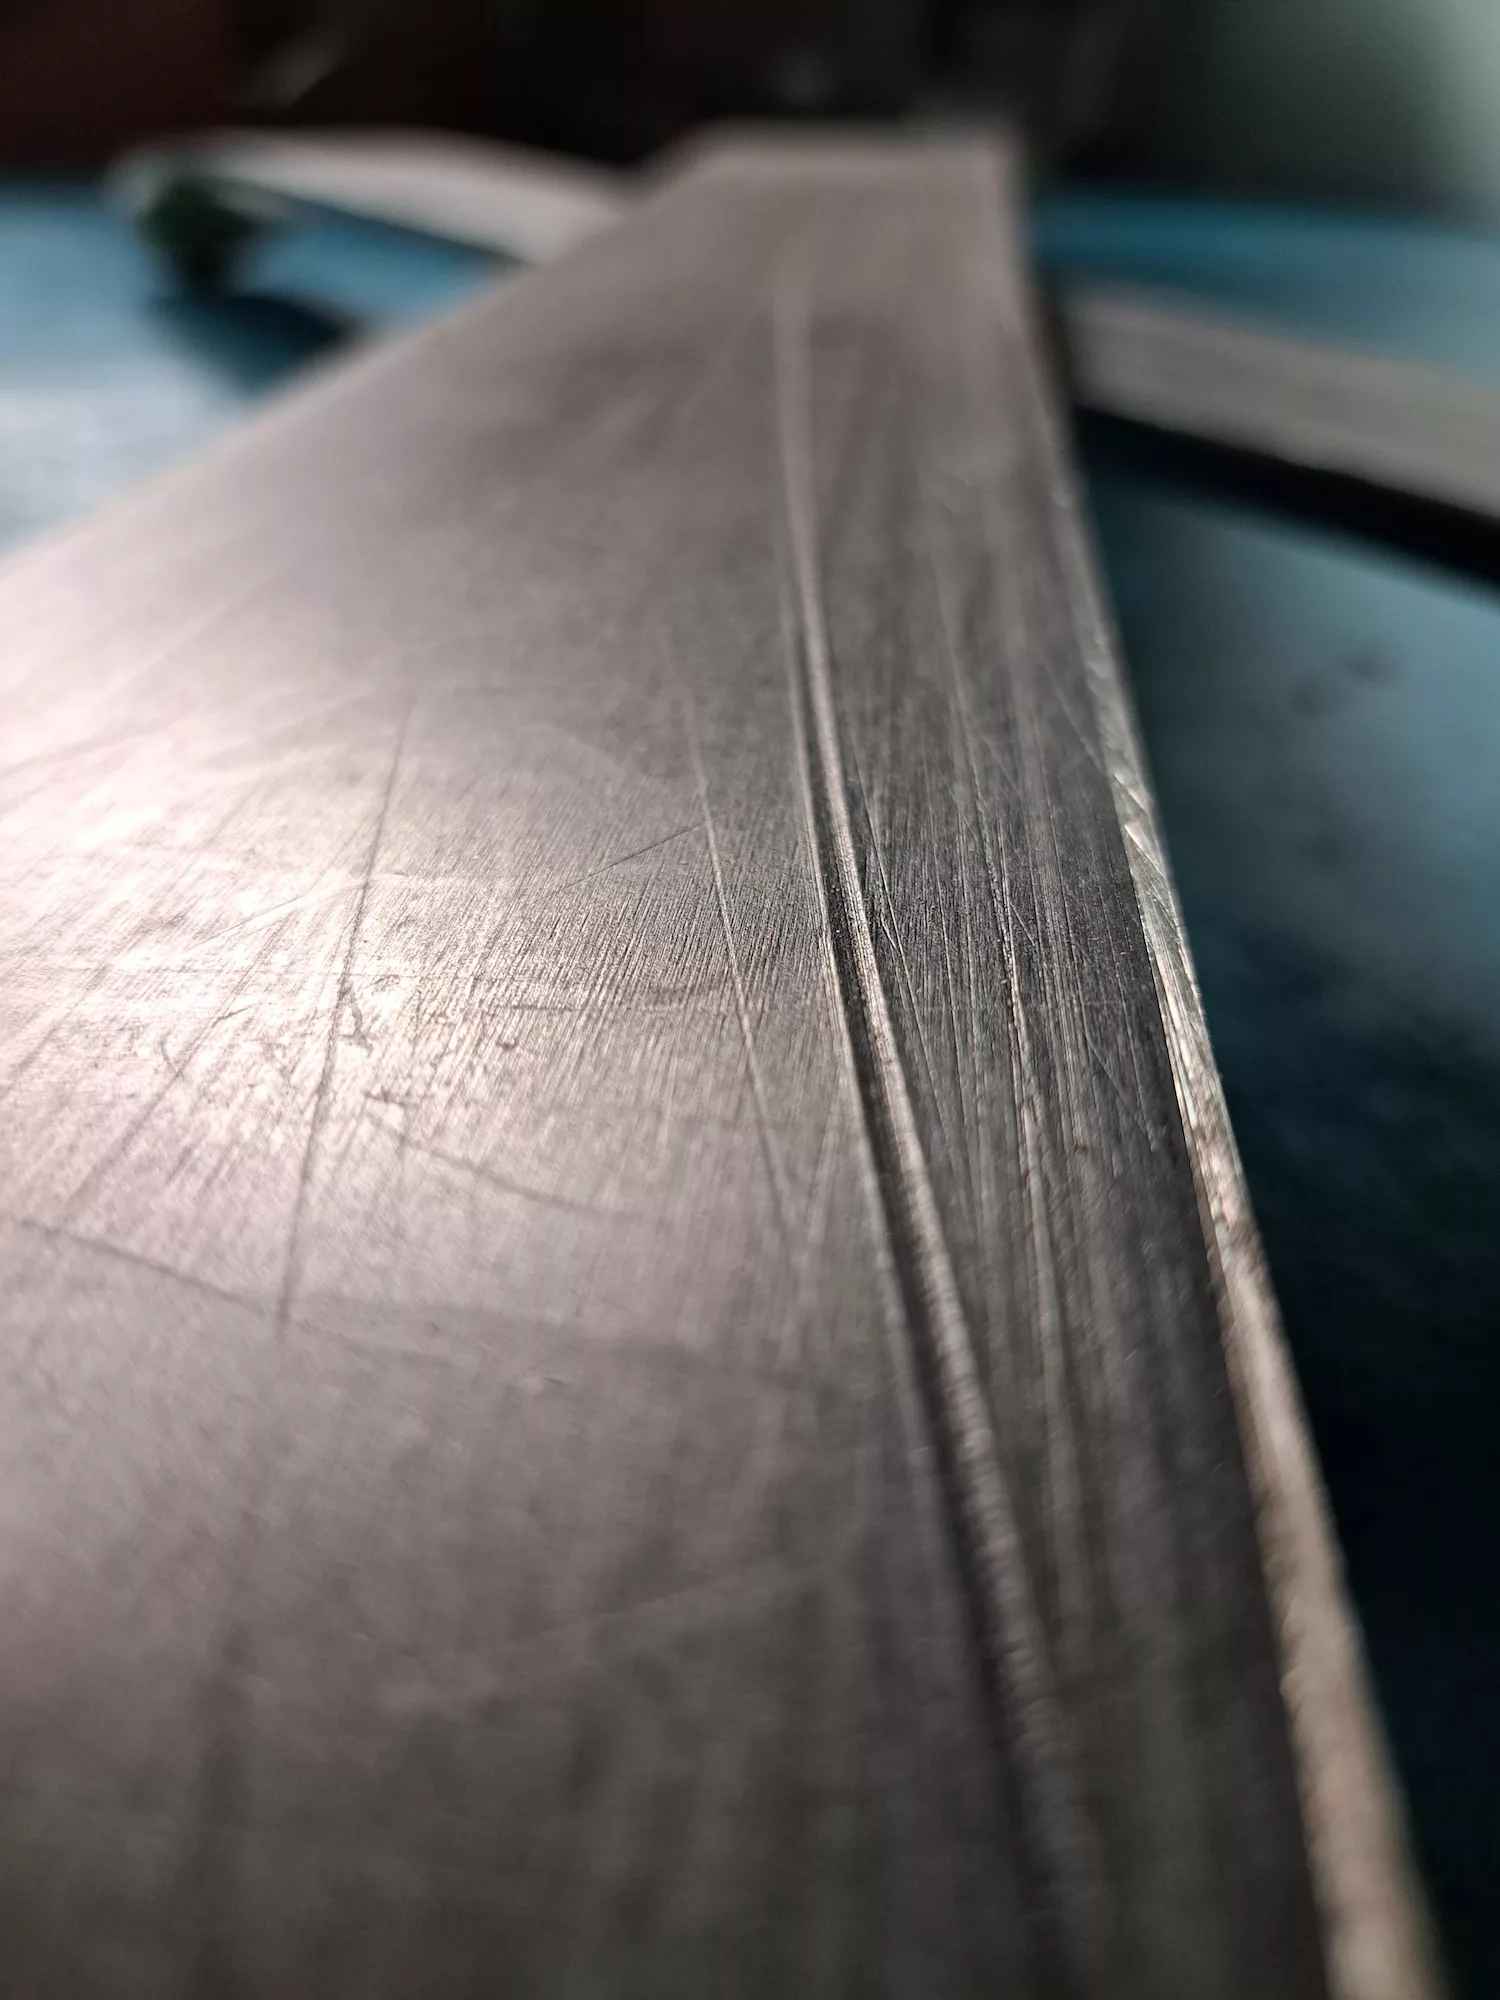
Since skis and snowboards are used to sail down slopes at high speeds and endure tight turns (as well as trees and rocks if you’re my husband), they can get gouged up, causing the bindings and brakes to break.
Repair Tips
Before you head out, always check your gear over. Do any repairs ahead of time or on the drive.
Bring a small ‘gear first-aid’ kit along. Patagonia has a little credit card-sized repair kit with some needles, thread and gear tape. Based on what gear you’re carrying, you can also make your own. Some handy items that could go into your kit are super glue, duct tape or special durable patches/tape or a multitool.
Don’t wait too long to fix small gear injuries as consistent usage will cause wounds to get bigger and more serious until they are beyond repair.
Not every type of wear or damage repair is possible on your own, of course, but with a few supplies and some knowledge, you can avoid having to replace or take your gear in for fixing.
 Sylvia Dekker
Let’s start with the easiest repairs. Holes, rips or worn spots in gloves, jackets, tents, sleeping bags and beyond can be mended easily enough. Either whip out a tenacious patch or dig through your junk drawer for a needle and thread. Create a durable double-thread by threading the needle and knotting the ends together.
 Sylvia Dekker
When patching, cut the patch in rounded shapes. Angular corners will catch and peel faster than rounded ones. Choose a patch or tape that is aggressively sticky, such as this patch kit, which will last through washing and wear.
Boots can be trickier depending on whether it’s a hole in the sole, a detached sole or a rip in the boot itself. A strong sealing glue, a clamp or weight and an overnight setting and drying session will put your trusty footwear back into service.
 Sylvia Dekker
Always clean your gear thoroughly before attempting repairs with glue and patches. Often, boots are covered in grime that will ruin the adhesive qualities of whatever you’re using, resulting in your efforts not lasting long.
Backpack repairs need to be done well to be able to carry and properly distribute weight. A variety of easy replacement buckles are available, which are another great addition to your repair kit. Sew up rips in fabric or patch smaller holes with the toughest patches you can find. If you’re at home, use an iron-on patch.
Nick Gallop, Flickr CC BY-ND 2.0
Being able to do your own kayak or canoe repair depends on what they are made of. Fill simple dents and gouges that don’t go through the hull with epoxy putty or gelcoat. Kits are available for repairing punctures in fiberglass, polyethylene and Royalex canoes. Most kayaks are made from plastic, so patches for these vessels can be made from pieces of five-gallon bucket or detergent bottles and plastic-welded to cover the hole, reinforced with wire mesh and covered with another layer of plastic. For most of us, repairing significant punctures and taking the boats out on the water again may conjure visions of frantic bailing. In that case, contact your local outdoor or vessel distributor.
Shallow gouges in skis and snowboards can be DIY’d by dripping a lit polyethylene candle over the groove, overfilling it a little, allowing it to cool for 15 minutes and smoothing with a metal scraper. Wax, and voila! Anything deeper or more serious than a scrape or gouge should be fixed by a pro at a ski shop to ensure safety and performance on the slopes.
 Sylvia Dekker
If you’re at a loss with what to do about a damaged item, sometimes all it takes is walking into your local outdoor shop and asking if they have any insight. Most carry tough sealing glues, gear tape and other repair materials they’ll be able to direct you to. Many also have valuable advice or repair programs you can take advantage of.
Now if you’ll excuse me, I’m off to try give my sad hiking boots a second life.
For more gear tips, check out:
How to Clean Your Hiking and Camping Clothes and Gear
Gear Review: Is the Apple Watch Ultra Worth It for Hikers?
What Should Be In Your Adventure Medical First-Aid Kit


